

Master how to connect any headset to an Xbox Controller, wired or wireless! Learn about adapters, CTIA vs. OMTP standards, and key settings for perfect game and chat audio.
Table of Contents
- Introduction: The Audio Lockdown Dilemma
- Understanding the Xbox Controller Audio Ports and Compatibility
- The Vital 3.5mm Headset Jack
- The Legacy Expansion Port (The Adapter Solution)
- The CTIA vs. OMTP Standard Conflict
- Method 1: Direct Plug-and-Play (The Easy Way)
- Method 2: The Stereo Headset Adapter (For Older Controllers)
- Method 3: Headsets with Splitter Cables (The PC Headset Problem)
- Method 4: Wireless and Bluetooth Headsets (The Unofficial Route)
- Using the Xbox Wireless Protocol
- The Mobile App Workaround
- Advanced Audio Settings on Xbox: Fine-Tuning Your Experience
- Game/Chat Balance Mastery
- Mic Monitoring Explained
- Exploring Spatial Sound
- Troubleshooting Common Connection Issues
- Conclusion: The Power of Personalized Sound
- Frequently Asked Questions (FAQs)
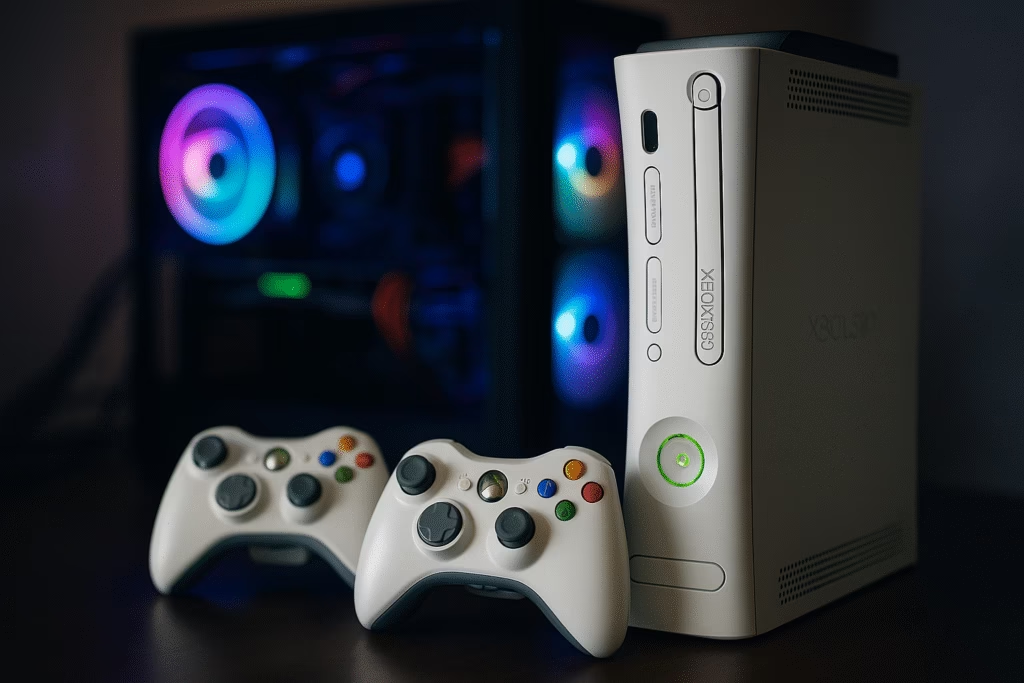
Introduction: The Audio Lockdown Dilemma
The silence can be deafening, but worse is the tinny, distant sound bleeding from your TV while your friends’ voices crackle over the main speakers. You own a fantastic headset—maybe it’s a high-end audiophile pair or your favorite PC gaming gear—yet, when you look at your Xbox controller, you might feel trapped in an audio lockdown, unsure if you can make them work together. The good news is that nearly every modern headset can be integrated into your Xbox experience.
Our comprehensive guide is designed to dismantle this audio barrier, showing you exactly how to connect any headset to an Xbox Controller, ensuring you get crystal-clear game audio and seamless party chat, regardless of your controller model or headset type. Furthermore, we’ll move beyond the simple plug-in, diving into the critical hardware and software nuances that dictate whether your headset merely works or truly excels.
Understanding the Xbox Controller Audio Ports and Compatibility
To successfully connect your audio gear, you first need to understand the hardware you’re working with. Xbox controllers have evolved over the years, introducing different connection methods. Therefore, identifying your controller model is the first, most crucial step in this process.
The Vital 3.5mm Headset Jack
Most controllers released after mid-2015—including the Xbox One S, Xbox One X, Xbox Series X|S controllers, and all Elite models—feature a built-in, standard 3.5mm audio jack at the bottom edge.
- Functionality: This single port supports both stereo game audio and microphone input, hence it is known as a four-pole or TRRS (Tip-Ring-Ring-Sleeve) jack.
- The Easy Connect: If your controller has this port, you can typically plug any standard 3.5mm headset directly into it. Consequently, this is the most straightforward method.
The Legacy Expansion Port (The Adapter Solution)
Older, original Xbox One controllers (Model 1537) did not include the 3.5mm jack. Instead, they featured a proprietary, rectangular expansion port on the bottom.
- The Necessity of Adapters: If you own one of these older controllers, you must use an Xbox One Stereo Headset Adapter. This piece of hardware plugs into the expansion port and, crucially, provides a 3.5mm jack, along with dedicated buttons for volume, mic mute, and game/chat balance control. Therefore, this adapter bridges the compatibility gap, allowing you to learn how to connect any headset to an Xbox Controller regardless of its age.
The CTIA vs. OMTP Standard Conflict
It is vital to know that not all 3.5mm jacks are wired the same way. The Xbox controller strictly uses the CTIA (Cellular Telecommunications Industry Association) standard.
- CTIA: This standard places the microphone connection on the section of the plug closest to the cable (the sleeve position).
- OMTP (Open Mobile Terminal Platform): Some older headsets (particularly those for certain non-Apple or legacy mobile devices) use the OMTP standard, which swaps the ground and microphone positions.
- The Resulting Problem: If you plug an OMTP headset into an Xbox controller, you will likely get game audio, but the microphone will not work correctly, or the sound will be distorted. Therefore, if you suspect this is the case, you will need a small, inexpensive OMTP-to-CTIA adapter. This small piece of hardware often resolves frustrating mic issues, seamlessly integrating your headset with the controller.
Method 1: Direct Plug-and-Play (The Easy Way)
For the vast majority of users with a modern Xbox controller, the process of connecting any headset to an Xbox Controller is remarkably simple.
- Locate the Jack: Identify the circular 3.5mm port at the bottom of your controller.
- Plug In: Insert your headset’s 3.5mm plug firmly into this port. You should hear a subtle click.
- Automatic Setup: Your Xbox should automatically detect the headset and route both game and chat audio through it.
- Initial Adjustment: Press the Xbox button on your controller to open the Guide. Navigate to the Audio & Music section (the speaker icon). Here, you can immediately adjust the Headset Volume, Headset Chat Mixer, and Mic Monitoring levels.
Method 2: The Stereo Headset Adapter (For Older Controllers)
If you are rocking an original Xbox One controller without the 3.5mm jack, or if you simply prefer physical, on-the-fly audio controls, the official or a third-party Stereo Headset Adapter is the solution.
- Attach the Adapter: Securely plug the adapter into the rectangular expansion port on the bottom of your controller.
- Connect the Headset: Plug your headset’s 3.5mm jack into the bottom of the attached adapter.
- Enjoy Instant Control: The adapter grants you physical buttons for Volume Up/Down, Mic Mute, and crucially, Game/Chat Balance. Because this adapter handles the audio processing, it often provides a better quality experience and quicker control access than relying solely on the software menu.
Many newer controllers have the 3.5mm jack, but serious gamers still prefer the dedicated control of an adapter. The official Xbox Stereo Headset Adapter (or high-quality third-party options) is crucial for older controllers and fantastic for competitive play. We recommend this adapter because it provides robust, tactile controls, which allows for instant adjustments to the Game/Chat balance without needing to open the menu mid-fight.
Method 3: Headsets with Splitter Cables (The PC Headset Problem)
A common pitfall occurs when trying to connect a dedicated PC gaming headset that uses two separate plugs: one for the headphones (audio out) and one for the microphone (mic in). Since the Xbox controller only accepts a single TRRS plug, the two separate plugs are incompatible.
- The Solution: You need a PC Headset Adapter Cable, also known as a Y-Splitter or CTIA Combo Adapter. This is a short cable that has two female 3.5mm ports (one for the mic plug, one for the headphone plug) on one end, and a single, four-pole male 3.5mm plug on the other.
- Connection Steps: Plug your headset’s two separate plugs into the female ends of the splitter. Then, plug the single male end of the splitter into the 3.5mm jack on your Xbox controller (or the Stereo Headset Adapter).
- Full Functionality Restored: Consequently, the splitter merges the two separate signals into the single, compatible TRRS standard, allowing both audio and microphone functions to work perfectly.
Method 4: Wireless and Bluetooth Headsets (The Unofficial Route)
Xbox uses its own low-latency wireless protocol, which means standard Bluetooth headsets cannot connect directly to the console. This is a common point of frustration for users asking how to connect any headset to an Xbox Controller wirelessly. However, there are two key workarounds:
Using the Xbox Wireless Protocol
- Dedicated Xbox Wireless Headsets: The only truly native wireless connection is reserved for headsets that specifically use the Xbox Wireless protocol (like the official Xbox Wireless Headset or models from Turtle Beach and Astro). These connect directly to the console in the same way your controller does, offering the lowest latency and highest quality.
- USB Dongles: Some high-end wireless headsets (e.g., certain SteelSeries or Astro models) come with a proprietary USB dongle that plugs into the Xbox console, providing their own low-latency wireless connection.
The Mobile App Workaround (For Standard Bluetooth)
If you have a standard Bluetooth headset, there is an ingenious, albeit slightly clunky, solution for party chat:
- Connect Headset to Phone: Pair your Bluetooth headset with your smartphone.
- Use the Xbox Mobile App: Open the Xbox mobile app on your phone, log in, and start a Party Chat.
- Audio Route: The game audio will still come through your TV/speakers, but your Party Chat audio and mic will be handled entirely by your phone and Bluetooth headset. Moreover, you can even use a cheap set of AirPods or any generic Bluetooth earbuds this way.
For the gamer who wants one wireless headset for everything—Xbox, PlayStation, PC, and Bluetooth devices—you need a product that offers multi-platform compatibility via a specialized dongle or dual wireless modes. We recommend checking out as these often include the Xbox Wireless protocol, allowing you to seamlessly connect to your Xbox Series X|S without any cables, while still supporting standard Bluetooth for your mobile devices.
Advanced Audio Settings on Xbox: Fine-Tuning Your Experience
Once you master how to connect any headset to an Xbox Controller, the next step is perfecting the audio output. Press the Xbox button, go to Profile & System (your profile picture), then Settings > General > Volume & audio output. Alternatively, access the quick menu by pressing the Xbox button and moving to the speaker icon.
Game/Chat Balance Mastery
This setting is perhaps the most critical feature for competitive gaming.
- Function: It allows you to prioritize the volume between the in-game sounds (footsteps, ability cues) and the volume of your Party Chat (teammate communication).
- The Adjustment: If you are using a Stereo Headset Adapter, you can adjust this with the physical buttons. Otherwise, use the Headset Chat Mixer slider in the Audio menu. Shifting it toward the game icon will make the game louder and the chat quieter; shifting it toward the chat icon does the opposite. Therefore, finding the sweet spot is essential for situational awareness.
Mic Monitoring Explained
Mic monitoring is the feature that plays your own voice back into your headset. It is crucial because many headsets block external sound (passive noise isolation), making you feel like you need to shout to be heard.
- Benefit: Turning it up allows you to hear yourself, preventing you from yelling at your teammates.
- Adjustment: Adjust the Mic Monitoring slider to a comfortable level. Consequently, this simple tweak can save your voice and your teammates’ ears during long gaming sessions.
Exploring Spatial Sound
Xbox supports advanced spatial audio technologies that can dramatically enhance your gaming experience by providing true 3D sound positioning.
- Options: The console offers built-in Windows Sonic for Headphones (free), or you can purchase and activate Dolby Atmos for Headphones or DTS Headphone:X (paid).
- Activation: Go to the Audio & Music menu, select Headset audio, and change the Headset format to your preferred spatial sound choice. Therefore, spatial audio can be a game-changer for competitive titles, letting you pinpoint enemies by the sound of their footsteps.
For gamers converting their high-quality PC headset (which uses two separate jacks for mic and audio) to their Xbox controller, a reliable Y-splitter cable is non-negotiable. Using a low-quality cable can introduce static or fail to transmit the microphone signal correctly. We highly recommend this Specific High-Quality CTIA Y-Splitter/Adapter Cable because it uses shielded wiring and CTIA compatibility, ensuring clean, full functionality when learning how to connect any headset to an Xbox Controller with a PC setup.
Troubleshooting Common Connection Issues
Despite knowing how to connect any headset to an Xbox Controller, you might occasionally run into hiccups. Here are the most common issues and their solutions:
| Issue | Cause | Solution |
| No Chat Audio/Mic Not Working | Headset is OMTP standard, not CTIA; or, a faulty Y-splitter is being used. | Purchase a small OMTP-to-CTIA converter (if needed) or check if the splitter is fully pushed in. Ensure the controller’s firmware is updated. |
| No Audio at All (Game or Chat) | Controller firmware is outdated; or, the 3.5mm jack is physically damaged/unseated. | Update the controller’s firmware via the Xbox Accessories app. Restart the console and controller. Try the headset with a different device (like a phone) to isolate the problem. |
| Static or Poor Sound Quality | Low battery on the controller (which affects the power to the jack); or, the volume is too low in the system settings and too high on the headset’s physical volume dial. | Fully charge the controller. Go to the Audio menu, maximize the Headset Volume, and then control the final volume using the headset’s own dial. This prevents a low, amplified signal from introducing static. |
| Headset Disconnecting Randomly | Outdated controller firmware; or, a loose USB connection if the controller is wired to the console. | Update the controller firmware immediately. If wired, secure the cable, or switch to a high-quality, magnetic-end micro-USB cable for a more reliable connection. |
Conclusion: The Power of Personalized Sound
Mastering how to connect any headset to an Xbox Controller is ultimately about taking control of your personal gaming environment. No longer are you beholden to proprietary accessories or muffled television speakers. Instead, whether you utilize the simple plug-and-play connection, deploy a comprehensive Stereo Headset Adapter, or creatively use a splitter for your PC gear, the power of high-fidelity, personalized game audio is now in your hands. Furthermore, the knowledge of CTIA/OMTP standards and the ability to fine-tune your Game/Chat balance are the hallmarks of a truly experienced gamer. Therefore, by implementing these expert techniques, you will undoubtedly gain a competitive edge and, crucially, a far more enjoyable, immersive gaming experience. Go forth and enjoy the sound of victory!
Frequently Asked Questions (FAQs)
Q1: Can I use my regular phone earbuds with a mic on my Xbox controller?
A: Yes, in most cases, you can. Most modern phone earbuds use the CTIA standard, which is fully compatible with the 3.5mm jack on Xbox controllers. Simply plug them in, and you should get both game audio and chat/mic functionality. Remember to check the Audio settings in the Xbox Guide for volume adjustments.
Q2: What is the rectangular port on the bottom of the older Xbox controllers for?
A: That is the proprietary expansion port. It is used to connect accessories like the original Xbox One Chat Headset or, more importantly, the Xbox One Stereo Headset Adapter. This adapter provides the 3.5mm jack and dedicated audio controls, which is essential if your controller doesn’t have a built-in 3.5mm port.
Q3: Why is my microphone not working, but I can still hear game audio?
A: This is the most common issue. The likely cause is an incompatibility with the plug’s wiring standard. Xbox controllers use the CTIA standard, while your headset might use the OMTP standard. You will need a small, inexpensive OMTP-to-CTIA adapter to resolve this microphone issue.
Q4: Is there a way to connect a standard Bluetooth headset directly to the Xbox console?
A: No. The Xbox console uses its own proprietary low-latency Xbox Wireless protocol, not standard Bluetooth, for headsets. You must use a headset that supports the Xbox Wireless protocol, or use the Xbox Mobile App workaround for Party Chat (connecting your headset to your phone, not the console).
Q5: My PC headset has two separate 3.5mm plugs. How do I connect it?
A: You need a PC Headset Adapter Cable, also known as a Y-Splitter. This adapter merges the separate audio-out and mic-in plugs into a single, combined 3.5mm TRRS plug compatible with the Xbox controller’s jack. Consequently, it restores full mic and audio functionality.
Q6: How do I update my Xbox controller’s firmware?
A: Connect the controller to your Xbox console using a USB cable. Press the Xbox button, go to Profile & System > Settings > Devices & connections > Controllers & headsets. Select your controller and check for firmware updates. Keeping the firmware current is crucial for fixing audio bugs.
Q7: Should I use Windows Sonic, Dolby Atmos, or DTS Headphone:X for spatial audio?
A: This is subjective. Windows Sonic is free and a solid improvement over standard stereo. Dolby Atmos and DTS Headphone:X (paid licenses) offer more advanced, object-based sound, which some users find superior for competitive advantage and immersion. You should try the free Windows Sonic first, and then decide if an upgrade is worth it for your personal preference.
Q8: What does ‘Mic Monitoring’ do, and should I turn it on?
A: Mic Monitoring is a feature that feeds a small amount of your microphone audio back into your headset. You should definitely turn it on because it prevents you from feeling the need to shout. Since most gaming headsets offer good noise isolation, hearing your own voice prevents talking too loudly.
Q9: Does using an adapter or Y-splitter reduce audio quality?
A: A high-quality adapter or splitter should not cause a noticeable reduction in audio quality. However, cheap, poorly shielded cables can sometimes introduce static or hum. Consequently, investing in a reputable, shielded splitter or adapter is highly recommended for maintaining optimal sound fidelity.
Q10: Why does my audio cut out when my controller battery is low?
A: The controller’s battery powers the audio components within the 3.5mm jack. Therefore, when the battery is critically low, the controller will prioritize core functionality (button inputs) and reduce power to the headset jack, which leads to distorted or cut-out audio. The solution is simply to charge or replace the controller’s batteries immediately.